How to Build a Fire : The Classic Cross Stack
A well-made fire is a timeless endeavour that is perpetually up for debate. Everyone has their own method. Everyone’s moethod is the best. How does one go about making the best possible campfire? “Log Cabin” method? “Teepee” method? Dry wood and gas? Let’s explore my favourite tried and true method, the Classic Cross Stack.
Many a thinker or adventurer has spent hours ruminating next to a sparking blaze, letting their thoughts float like the smoke. Indigenous and tribal peoples have long used fire for protection from wildlife and for survival by means of cooking food and staying warm. Nowadays, a good campfire is mostly associated with libations and guests, not survival. It’s my belief that we can find similar ancient pleasures and experiences in the comfort of our backyard or provincial park, without risking the Hugh Glass-style saga — and there’s not a damn thing wrong with that. But what about expanding the experience? What about knowing the difference between what makes a good fire and what makes a great fire?
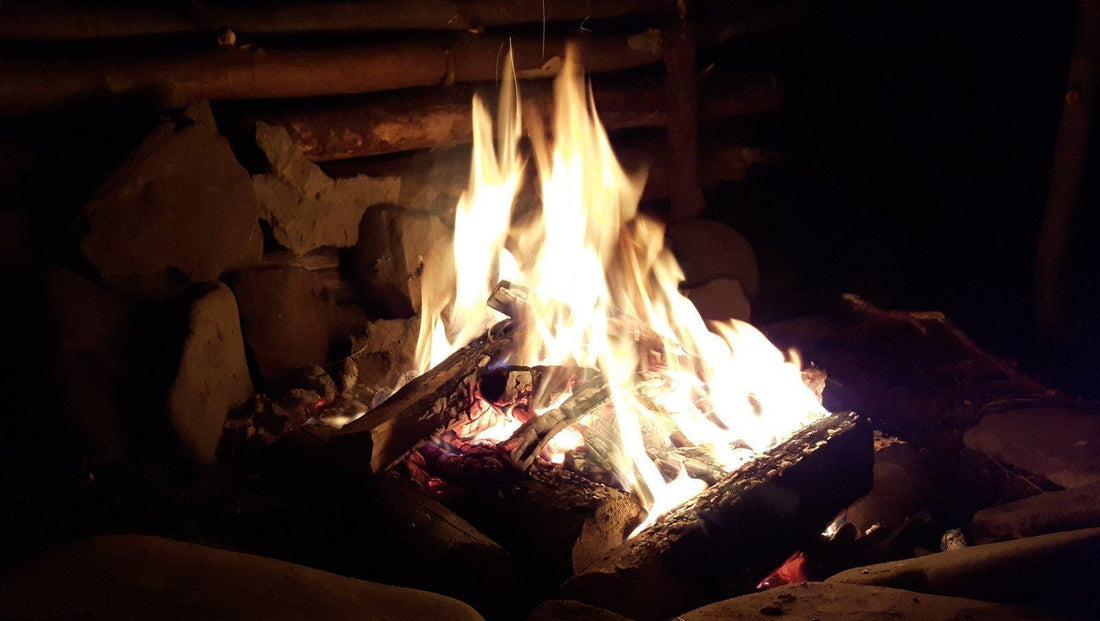
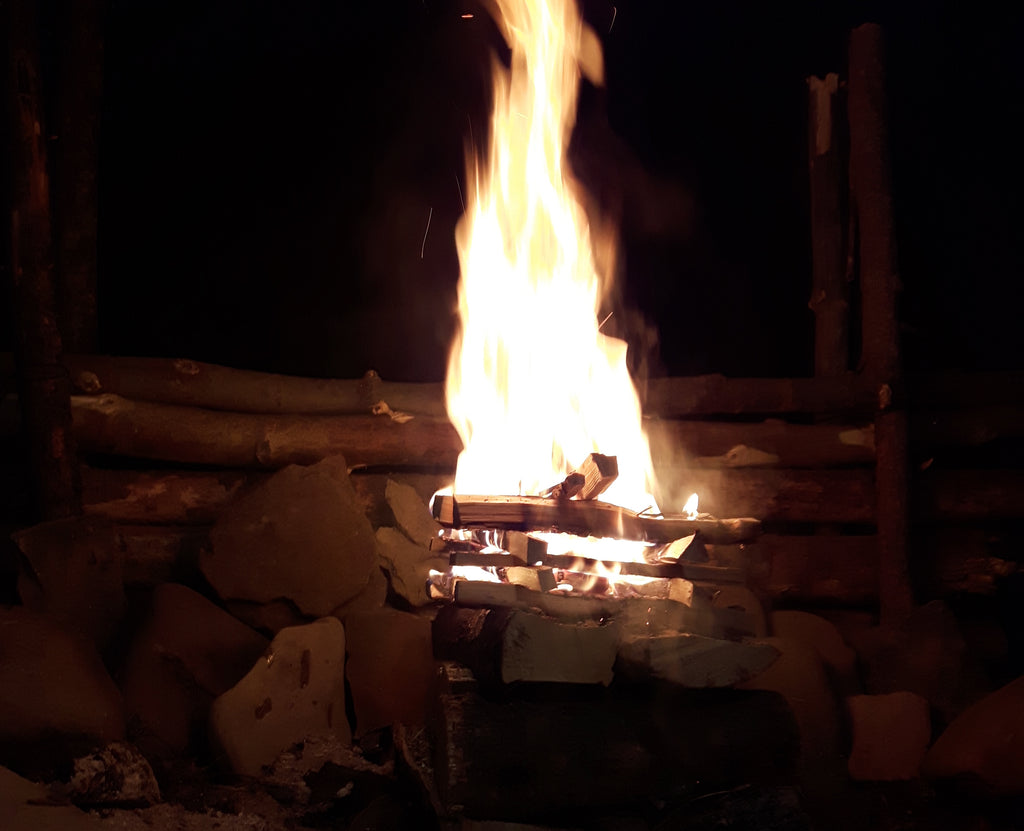
A great fire, simply put, burns for a long time, develops blazing coals, and puts out a radiant and warming glow, and how you build your fire will determine how well it burns.
“But doesn’t the type of wood dictate how well my fire will burn? Don’t I need to fork over handfuls of cash for pre-cut and pre-seasoned birchwood?”
No. No, you damn well do not. Certainly, yes, some wood types provide specific benefits, but your secret weapon for stacks of mass combustion is all in the construction.
The Classic Cross Stack
This method goes by a myriad of names and most folks associate it with the “log cabin” build. The technique presented here will utilize the most common log cabin but with a simple and effective twist. Build a “basement” for your cabin — and then burn it down.
Step 1: You’re looking for logs about 5 inches to 8 inches in diameter. Pick up your trusty axe (I recommend the Hultafors Aby Forest axe) and split them right down the middle.
Step 2: Laying the “basement” is important. Stack the halved wood in such a way that will offer the most stable foundation, alternating between cut side up one piece and exterior side down on the next. Alternate between these two types to form a flat surface
Step 3: As you build this stack up, note that you may need to begin quartering the logs, arranging them in an alternating pattern such that you’re always able to make a (mostly) flat, stable surface. Always arrange each new layer perpendicular to the previous.
Step 4: Once you’ve reached your desired stack height, assemble a simple “log cabin” out of kindling.
Some options for kindling include:
- Scrap wood. I like to use the scrap kindling and bark bits that accumulate around my chopping stump as my fire starter. With dry tinder, you shouldn’t need anything more than a simple bic lighter to get it going.
- A "feather stick". If you haven't got any scrap kindling handy, then draw your cutting edge of a good outdoor knife (I like the ones from Helle) down the ridges on a cut piece of wood, creating a feathering effect that will ignite quickly and easily.

- If you're in the backyard, then pay your laundry room a visit and get some tinder from your dryer lint trap, it will get things going quickly!
- If you want a roaring blaze right off the hop, build a kindling “teepee” around your log cabin. This entails leaning additional kindling around the sides of you cabin, where the tips of the kindling meet in the middle, forming a “teepee” style roof over your cabin.
PRO TIP: Depending on how long you want this fire to burn, say, well into the wee hours of the morning, you can stack intact rounds before Step 1 and arrange the halved logs in Step 1 perpendicular to the intact rounds. This is important; they must be perpendicular to maintain structural integrity. Whole logs will produce heat for hours, making them ideal for campouts around the fire!
Why does the Cross Stack work so well?
The fire you build on top of the stack will burn downwards, being fueled by the layers beneath. Because the cross stack is so stable, the fire will burn evenly. Each layer equates to about 25-35 minutes of burn time, depending on the wood. What I personally love about this system is that I only need to add wood on top if I want bigger flames. Otherwise, this fire need not be tended to, nor fussed with. This system also develops a phenomenal ember base, ideal for roasting all your weiners/brats/’mallows. And it’s even better for consistent, controlled cast iron cooking when the pan is placed directly on top of the embers. Let’s face it: Roasting your food directly on the fire is about as close as any of us will be getting to braving the wild and living by the light of the fire.
Cook over fire.
For your family.
For your friends.
You’ll feel better.
I always do.


