
Hair & Body


How to Trim Your Moustache with a Safety Razor & Scissors
So! You’ve been growing your ‘stache for a while now, possibly even waxing that bad boy, but it's starting to get out of hand. No need to visit the barber; you can easily trim your moustache at home with a few simple steps. Here’s what I’ve learned from nearly ten years of trimming my moustache:
Start by visualizing your dream ‘stache. Chances are you were first inspired to grow your own by one of the many spectacular famous moustaches: Tom Selleck, Prince, Salvador Dali… I think it was all three in my case. Regardless of who your whisker inspiration is, figure out what your goal is, and try to make it attainable. I once wanted the paper-thin moustache of John Waters, but with blonde hair, it wasn’t likely, so I went for a more classic English style. Once you have this design in mind, it will inform your trimming choices.

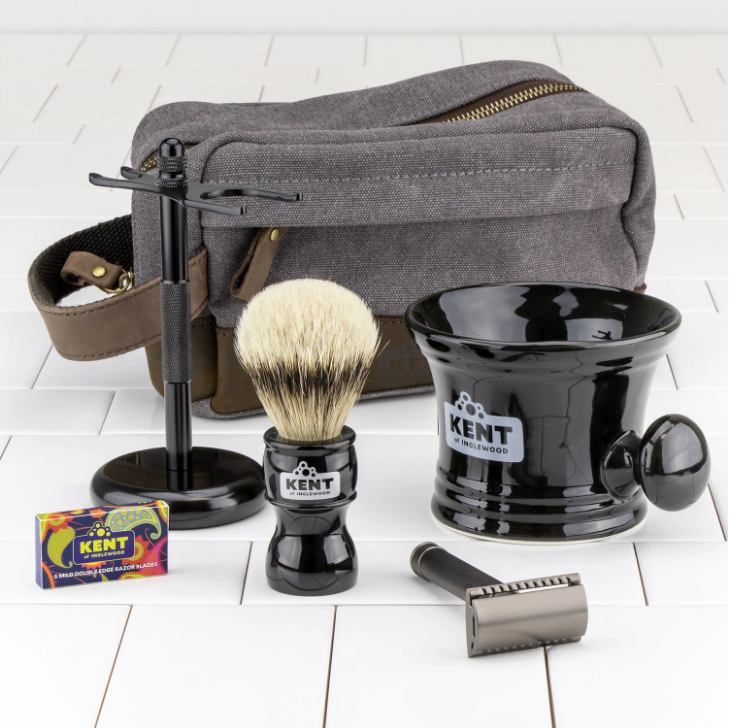
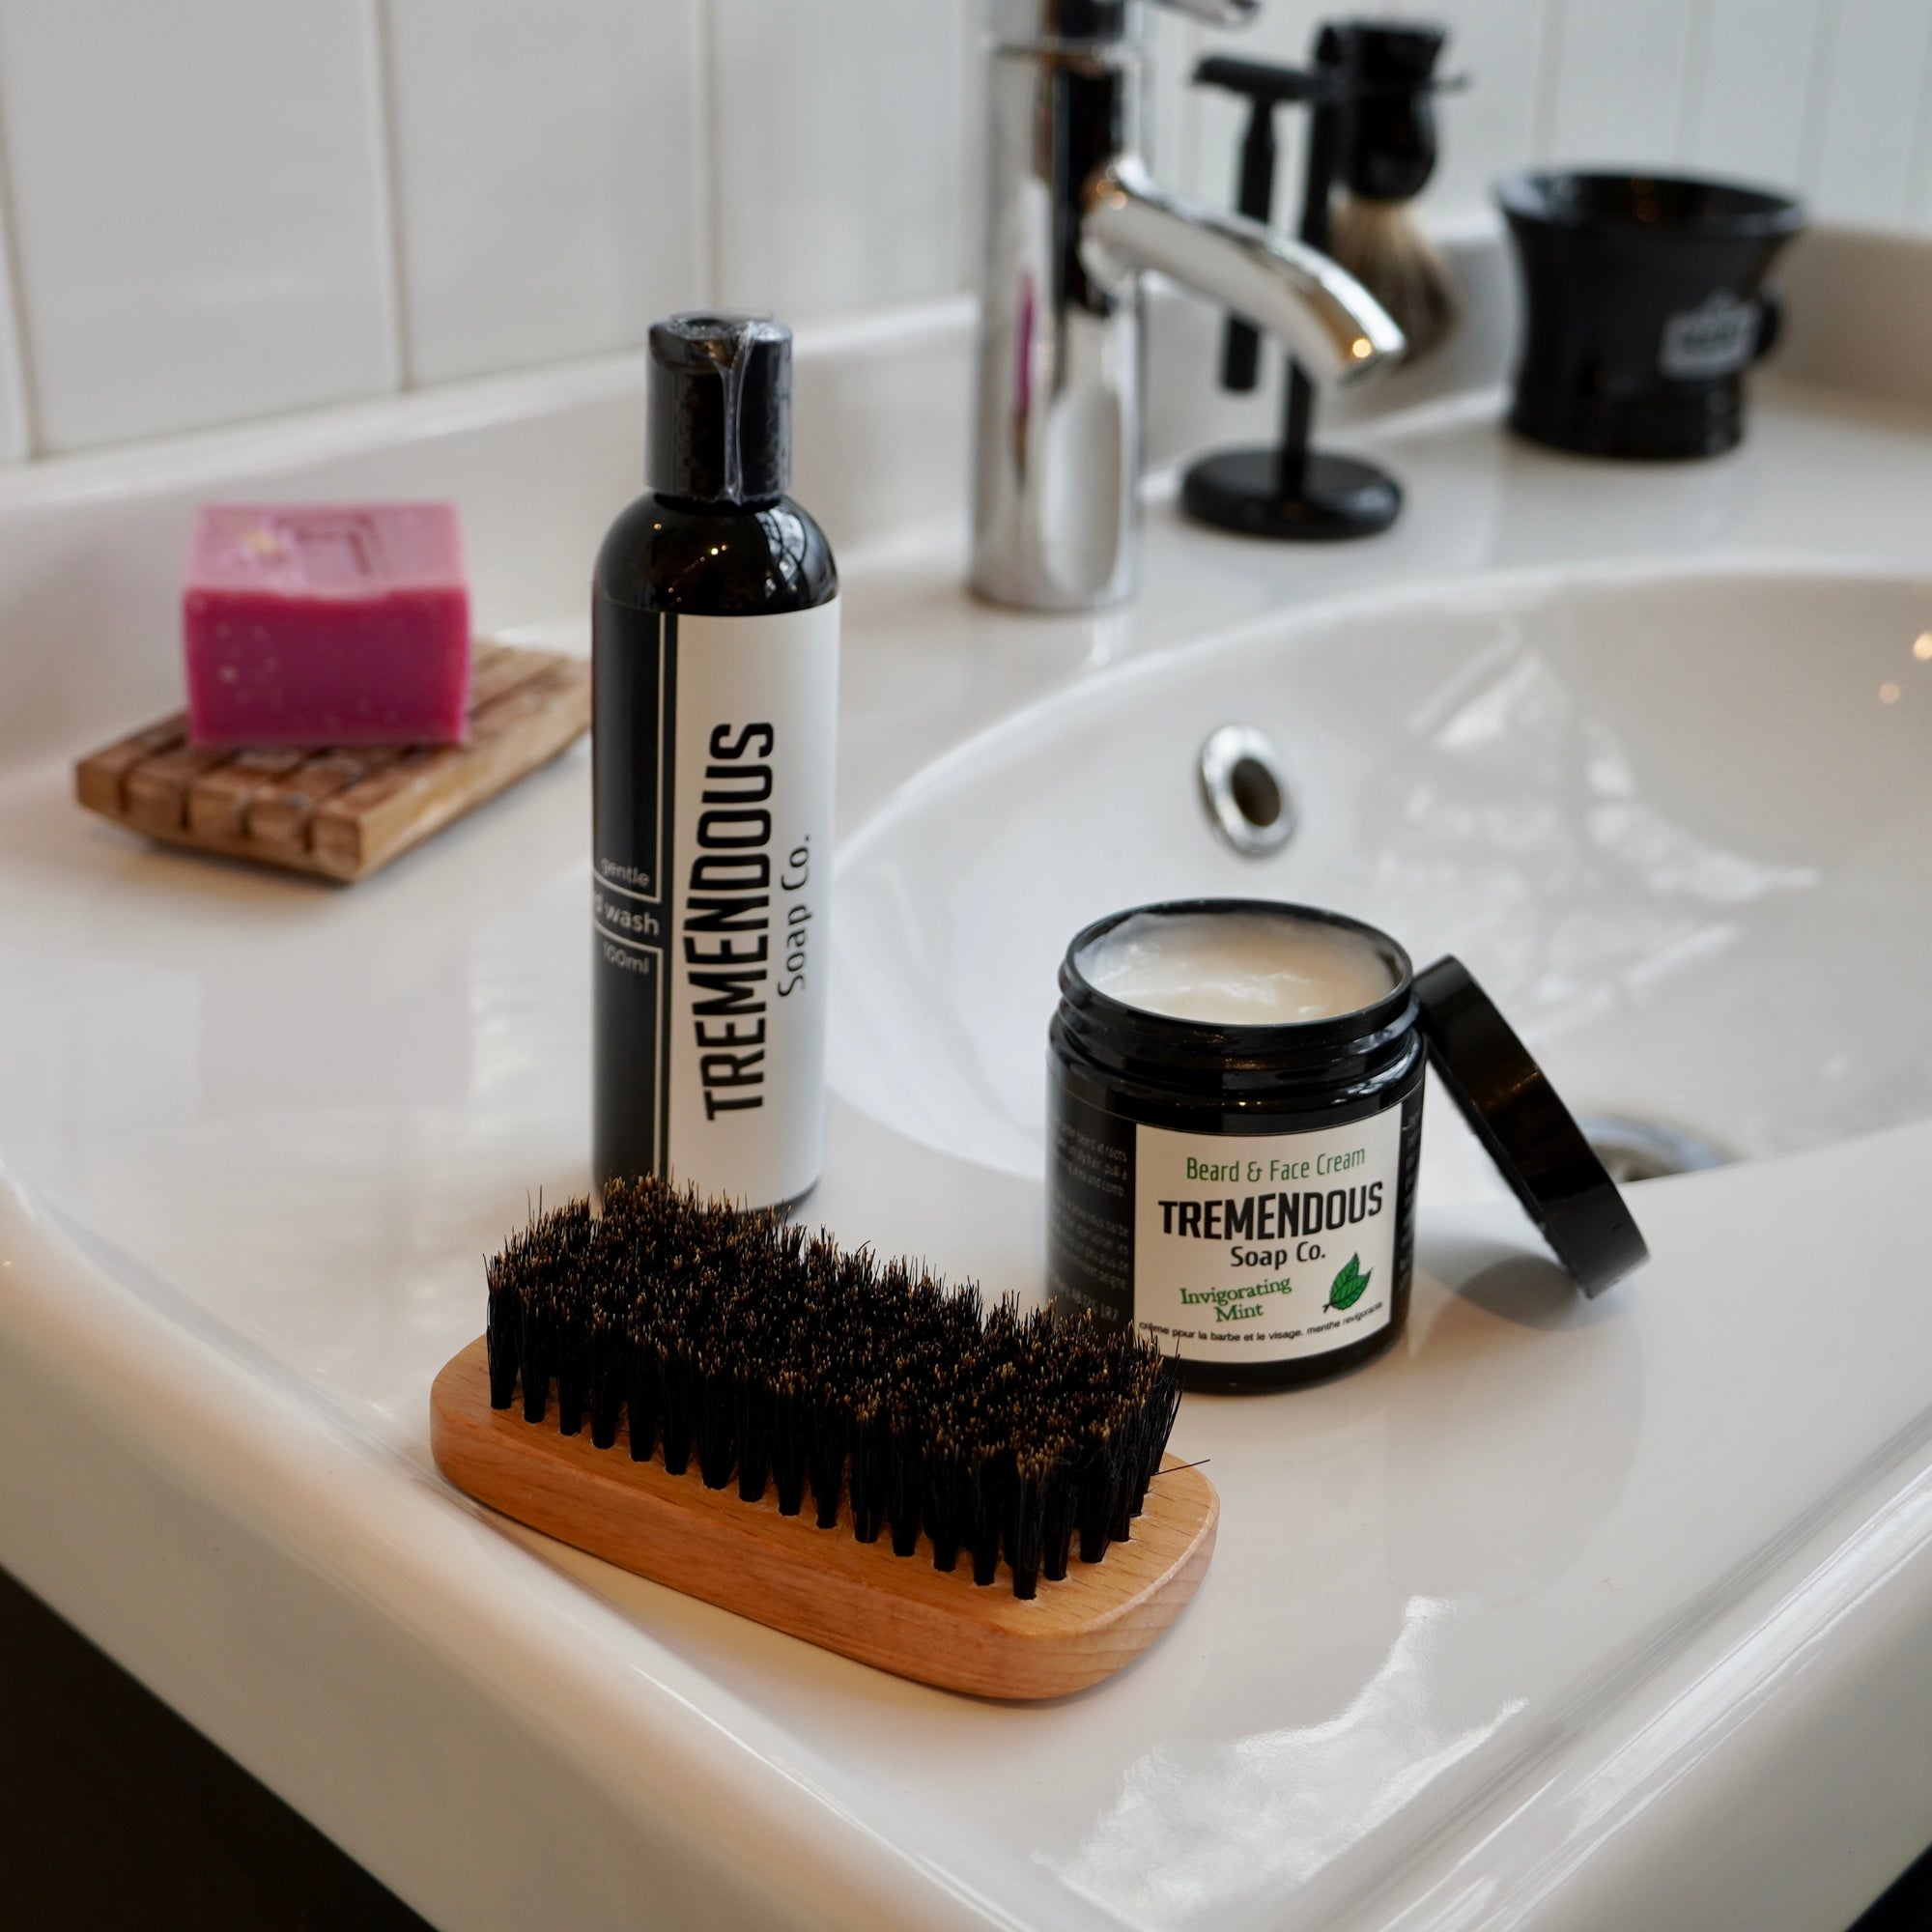
Having the right gear makes trimming much easier!
Next, you’ll need a few pieces of gear. A safety razor is a must, as they’re much more precise than a cartridge razor for trimming. A decent pair of scissors is also a must-have; you won’t have a good time trying to do this with kitchen scissors. A precision razor for delicate line-ups is an optional but very useful third piece of gear. I started with the Merkur detail razor, and it works beautifully. The wider edge has a little window that allows you to see the blade edge, perfect for getting clean lines, while the narrow edge is excellent for creating a split down the middle of your moustache. An alternative tool that requires more skill but offers even more precision is the Hoxton Shavette. This guy is a tiny straight razor with a disposable blade, so it's always razor sharp. I use mine for lining up my ‘stache, trimming in the middle, and even shaving pesky hairs from the edges of my nostrils.
Once you’re geared up, it's time to get to work! Set aside 10 or 20 minutes as you don't want to rush this the first few times. No two staches are alike, so I can’t tell you exactly how to go about trimming your own, but I can offer a ton of helpful advice to help you get through the process with a result you love!
 I always start by finding my rough shape with a trusty pair of moustache scissors.
Much like trimming a hedge, you want to start by roughing out the approximate shape you’re after. If you want a longer stache, start by cutting that shape in with your scissors. Think about how straight the lines on the bottom and top of your dream stache are, what kind of angles they sit at, and how far in front of the face it extends. Look at your whiskers from several angles to catch stray hairs that may not be visible straight-on.
When I trim my moustache, I begin by shortening the bottom edge and cutting it into a straight, diagonal line that runs parallel to the top of my ‘stache. I then check underneath for super long hairs that may be curled up and trim those too. Finally, I check from my side profiles for anything that seems amiss, and I trim the middle of my ‘stache a little.
Now that we’ve got the rough shape, we can begin the detail work. I like to round out the ends a little with my scissors to finish up the form. When I have a beard, I also trim the hairs that connect my moustache to my beard so they don’t look crazy and long. You can always give it more of a trim later, so don’t worry about getting it perfect right now.
 Safety razors are excellent at shaving large areas, and much more precise than cartridge razors.
Next, it's time to pick up your razor! Dry shaving hurts, but shaving cream will obscure your canvas, so I like to heat things with a warm towel and apply some clear preshave gel to see what I’m doing. With your razor or choice, carefully line up the top of your moustache. This is probably the riskiest part, so take your time and only trim the hairs that are really out of line. The top doesn’t need to be perfectly straight; we’re just giving the illusion of a straight line. Trim too much, and you’ll have an awkward line of stubble at the top.
If the middle of your moustache doesn’t connect or you don’t want it to, now is the time to clean up this line. I do so by shaving outwards with my shavette, but the Merkur detail razor works well too. You could attempt this with a safety razor, but you’re likely to trim too much. Subtlety is the key here! If you have a precise razor, you can follow this step by trimming around the top in the nostril area to remove any hairs that aren’t part of the larger form.
 The Merkur Detail Razor is an excellent tool for precise clean-ups.
We’re almost there! This last step is easy but really makes the difference. With your razor of choice, trim next to the ends of your moustache to give it a more intentional look. Lift the ends and shave under them to remove the unwanted hairs around the corners of your mouth. If you’re like me and have little hairs in the corners of your mouth that prick your lips, you’ll want to carefully shave these too.
Now, give the whole thing a good combing or brushing to knock any loose hairs out, have a last go at it with the scissors, and apply your wax of choice (optional). Congratulations! You probably didn’t do a perfect job, and that’s completely fine. I’ve been doing this for a decade, and I’m still not perfect at it. Getting better is half the fun! The important part is that you’re achieving your dream moustache, and I guarantee nobody but you will notice if it isn’t exactly right.

Before & after trimming with Tweezerman scissors and a Hoxton Shavette.
If you’re ready to wax, check out my handy moustache waxing tips or pick up some trimming gear so you can get to work!