
Hair & Body


How to Clean and Maintain a Badger Hair Shaving Brush

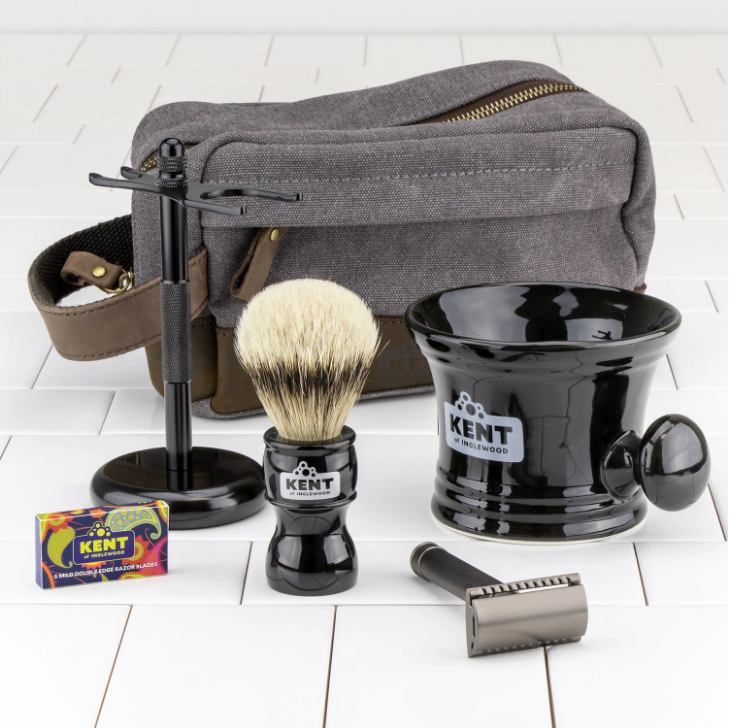
One of my favourite bits of shaving gear is my silvertip badger hair brush. The unsung hero of the shave, it softens and lifts your hairs allowing for a more comfortable experience, all while providing some gentle exfoliation. A decent brush should last years, and if well cared for, a high-end brush will last decades. If treated poorly, however, they won’t last long at all. Proper care can make or break your experience with a shaving brush, and while it is essential, it’s not in the least bit complicated. Let’s help you make the most of your investment!
How to Use a Shaving brush Properly
First, using your brush effectively is 90% of getting it right. Like any other tool, appropriate use and routine maintenance will help it last much longer. Always soak the bristles in warm water when using your brush before building your lather. This makes them soft and pliable, so they don’t crack or snap when you’re building your lather, helping the ‘loft’ stay intact much longer. Make sure your water isn’t super hot, and try just to soak the bristles to preserve the glue that holds them into the handle.

Always start with warm water- no one likes an icy dunk!
When I lather my shaving cream, I like to use some pressure to fan the brush out and help build the lather more quickly. When I press the brush firmly into my skin, I’m not totally mashing it. Frequent mashing on your bristles will cause them to fan out over time, permanently creating a donut-shaped end to your brush.

You can use that same lather pressure to clean out your brush, too.
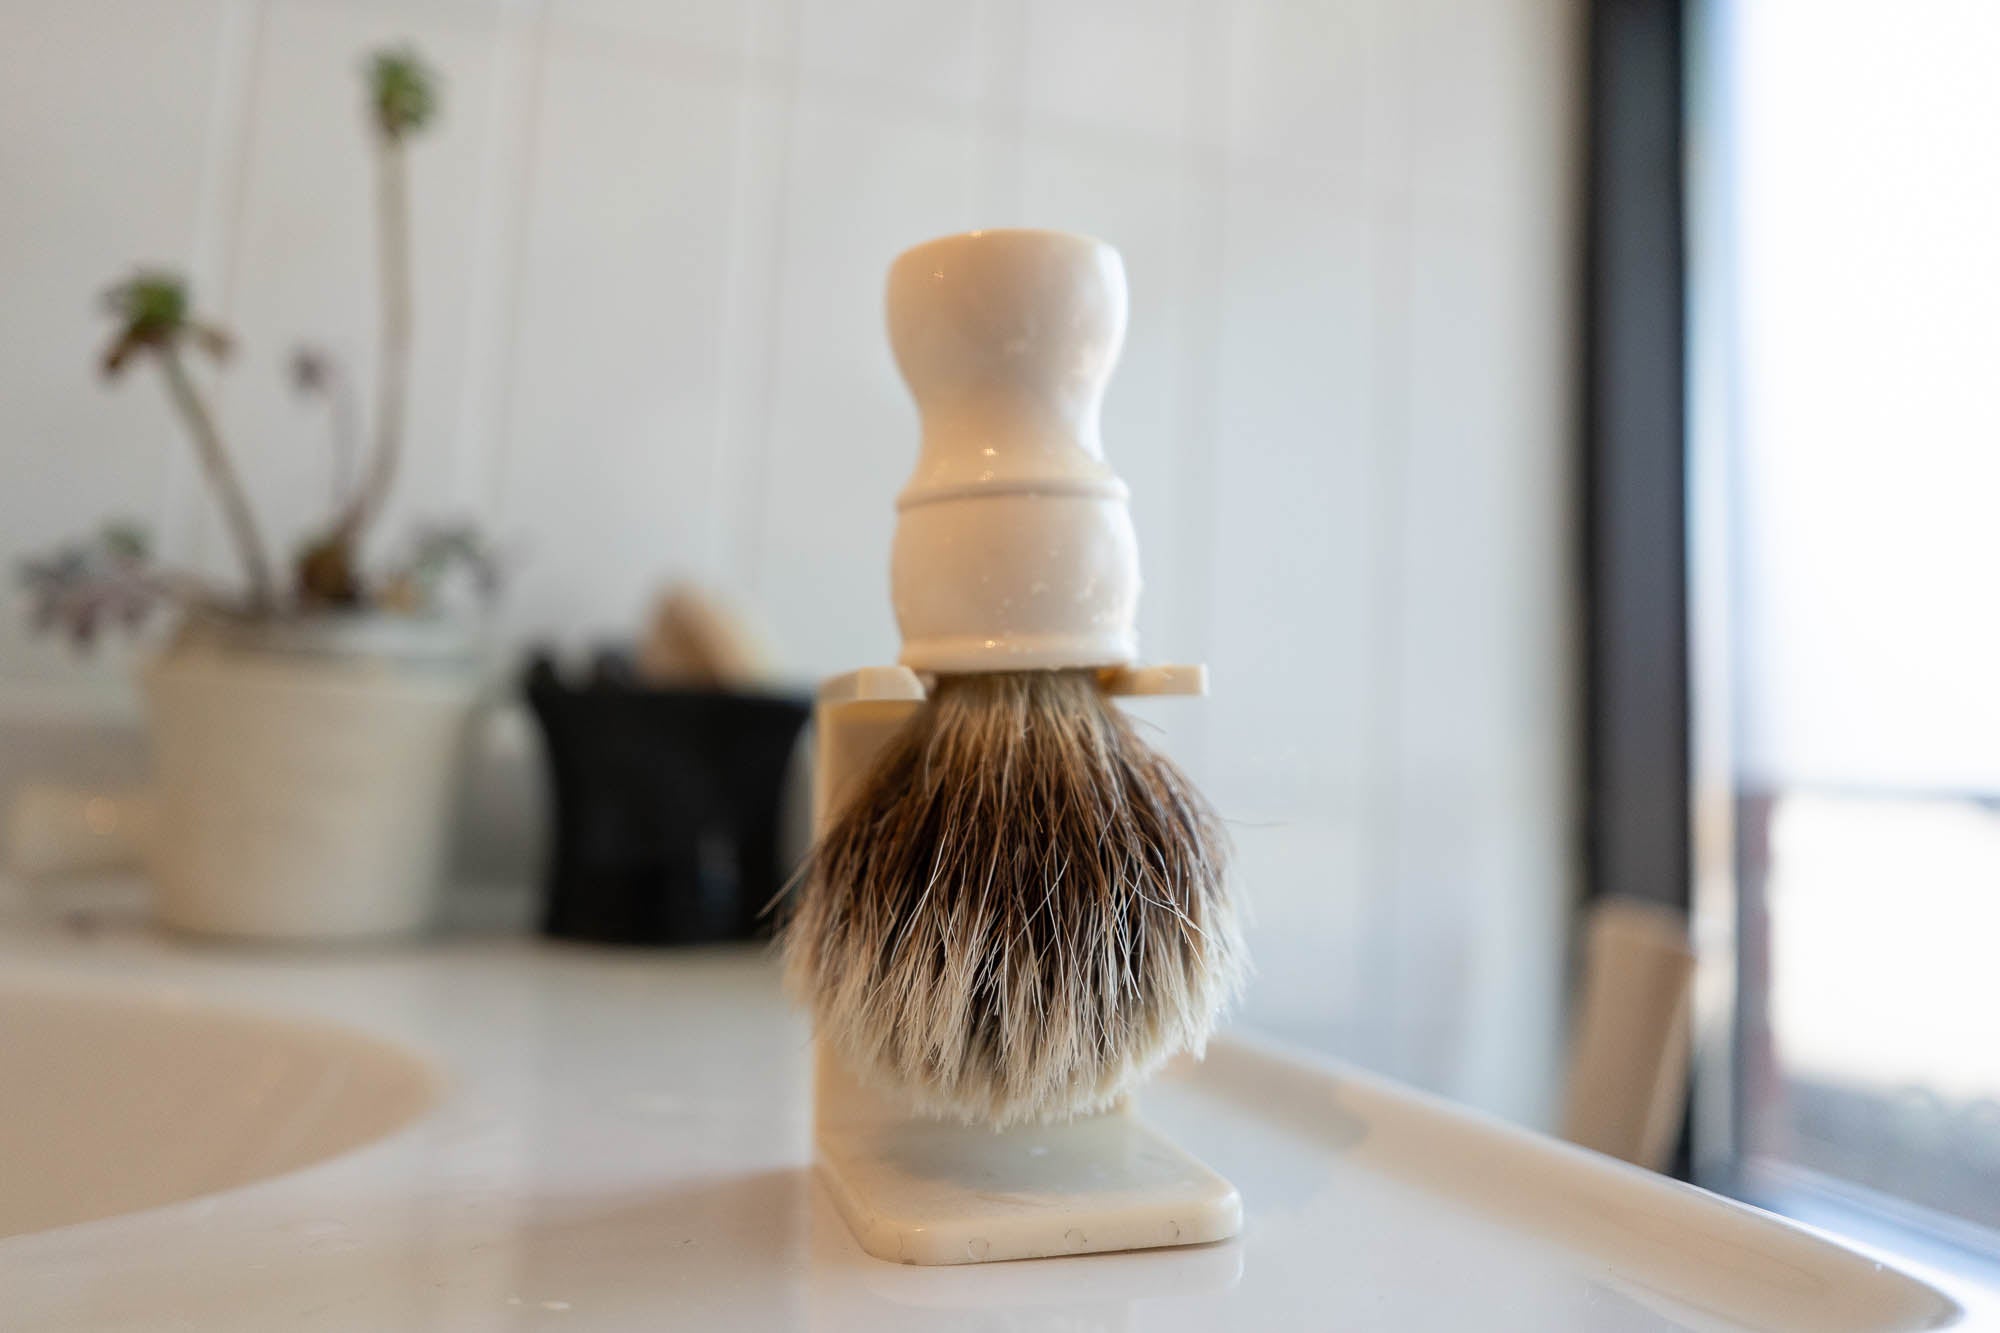
Finally, clean and dry your brush with care. I give my brush a thorough rinse with cold water (cold stops the soap residue from coating your drain) and a gentle shake over the sink. Avoid loosening the hair with aggressive shaking or squeezing on the bristles. Lastly, hang your brush up to dry in a stand! Allowing the brush to dry with the bristles facing downwards keeps water away from the handle and glue and stops your brush from getting funky. Swirl your brush on a dry towel to remove excess water and reshape the loft for bonus points. This step is essential to getting my brush to dry properly in humid climates.

From there, it's a matter of hanging out!
And that’s it! Assuming your brush is at least of decent quality, it should last years with this kind of care. You can expect some light shedding when it’s brand new, but if you ever have a brush losing tons of bristles or worse, come see us!
Why does my shaving brush smell bad?
If your brush is drying correctly, it should never develop a smell besides a light fragrance of your favourite soap, but sometimes new shaving brushes have a distinct funk or even a pungent stink. If your brush smells like a wet dog, fret not; this is common in new brushes, especially those made from horse or boar bristle. Most shaving brushes are made from animal hair, and while they’re well cleaned in the production process, a residual smell is typical.

So how do you deal with the stink? It will wear off with use, but I’m not a fan of barnyard-scented shaves. An easy way to expedite the process is to build a lather with your shaving soap or cream and leave the brush sitting with the bristles facing upwards. Seriously, just walk away! Let the lather dry onto the brush for a few hours, then rinse and dry it thoroughly. Repeat this a few times, and the smell should disappear!
How to Clean Your Shaving Brush
That covers routine maintenance. Follow the above instructions, and you’ll be good for years! But just like your car, a brush can accumulate grime and sometimes needs a deep cleaning. Soap residue can build up, and limescale can coat the handle and bristles in areas with hard water. The name of the game when deep-cleaning your brush is patience. This is a delicate instrument, so take your time and do it right.
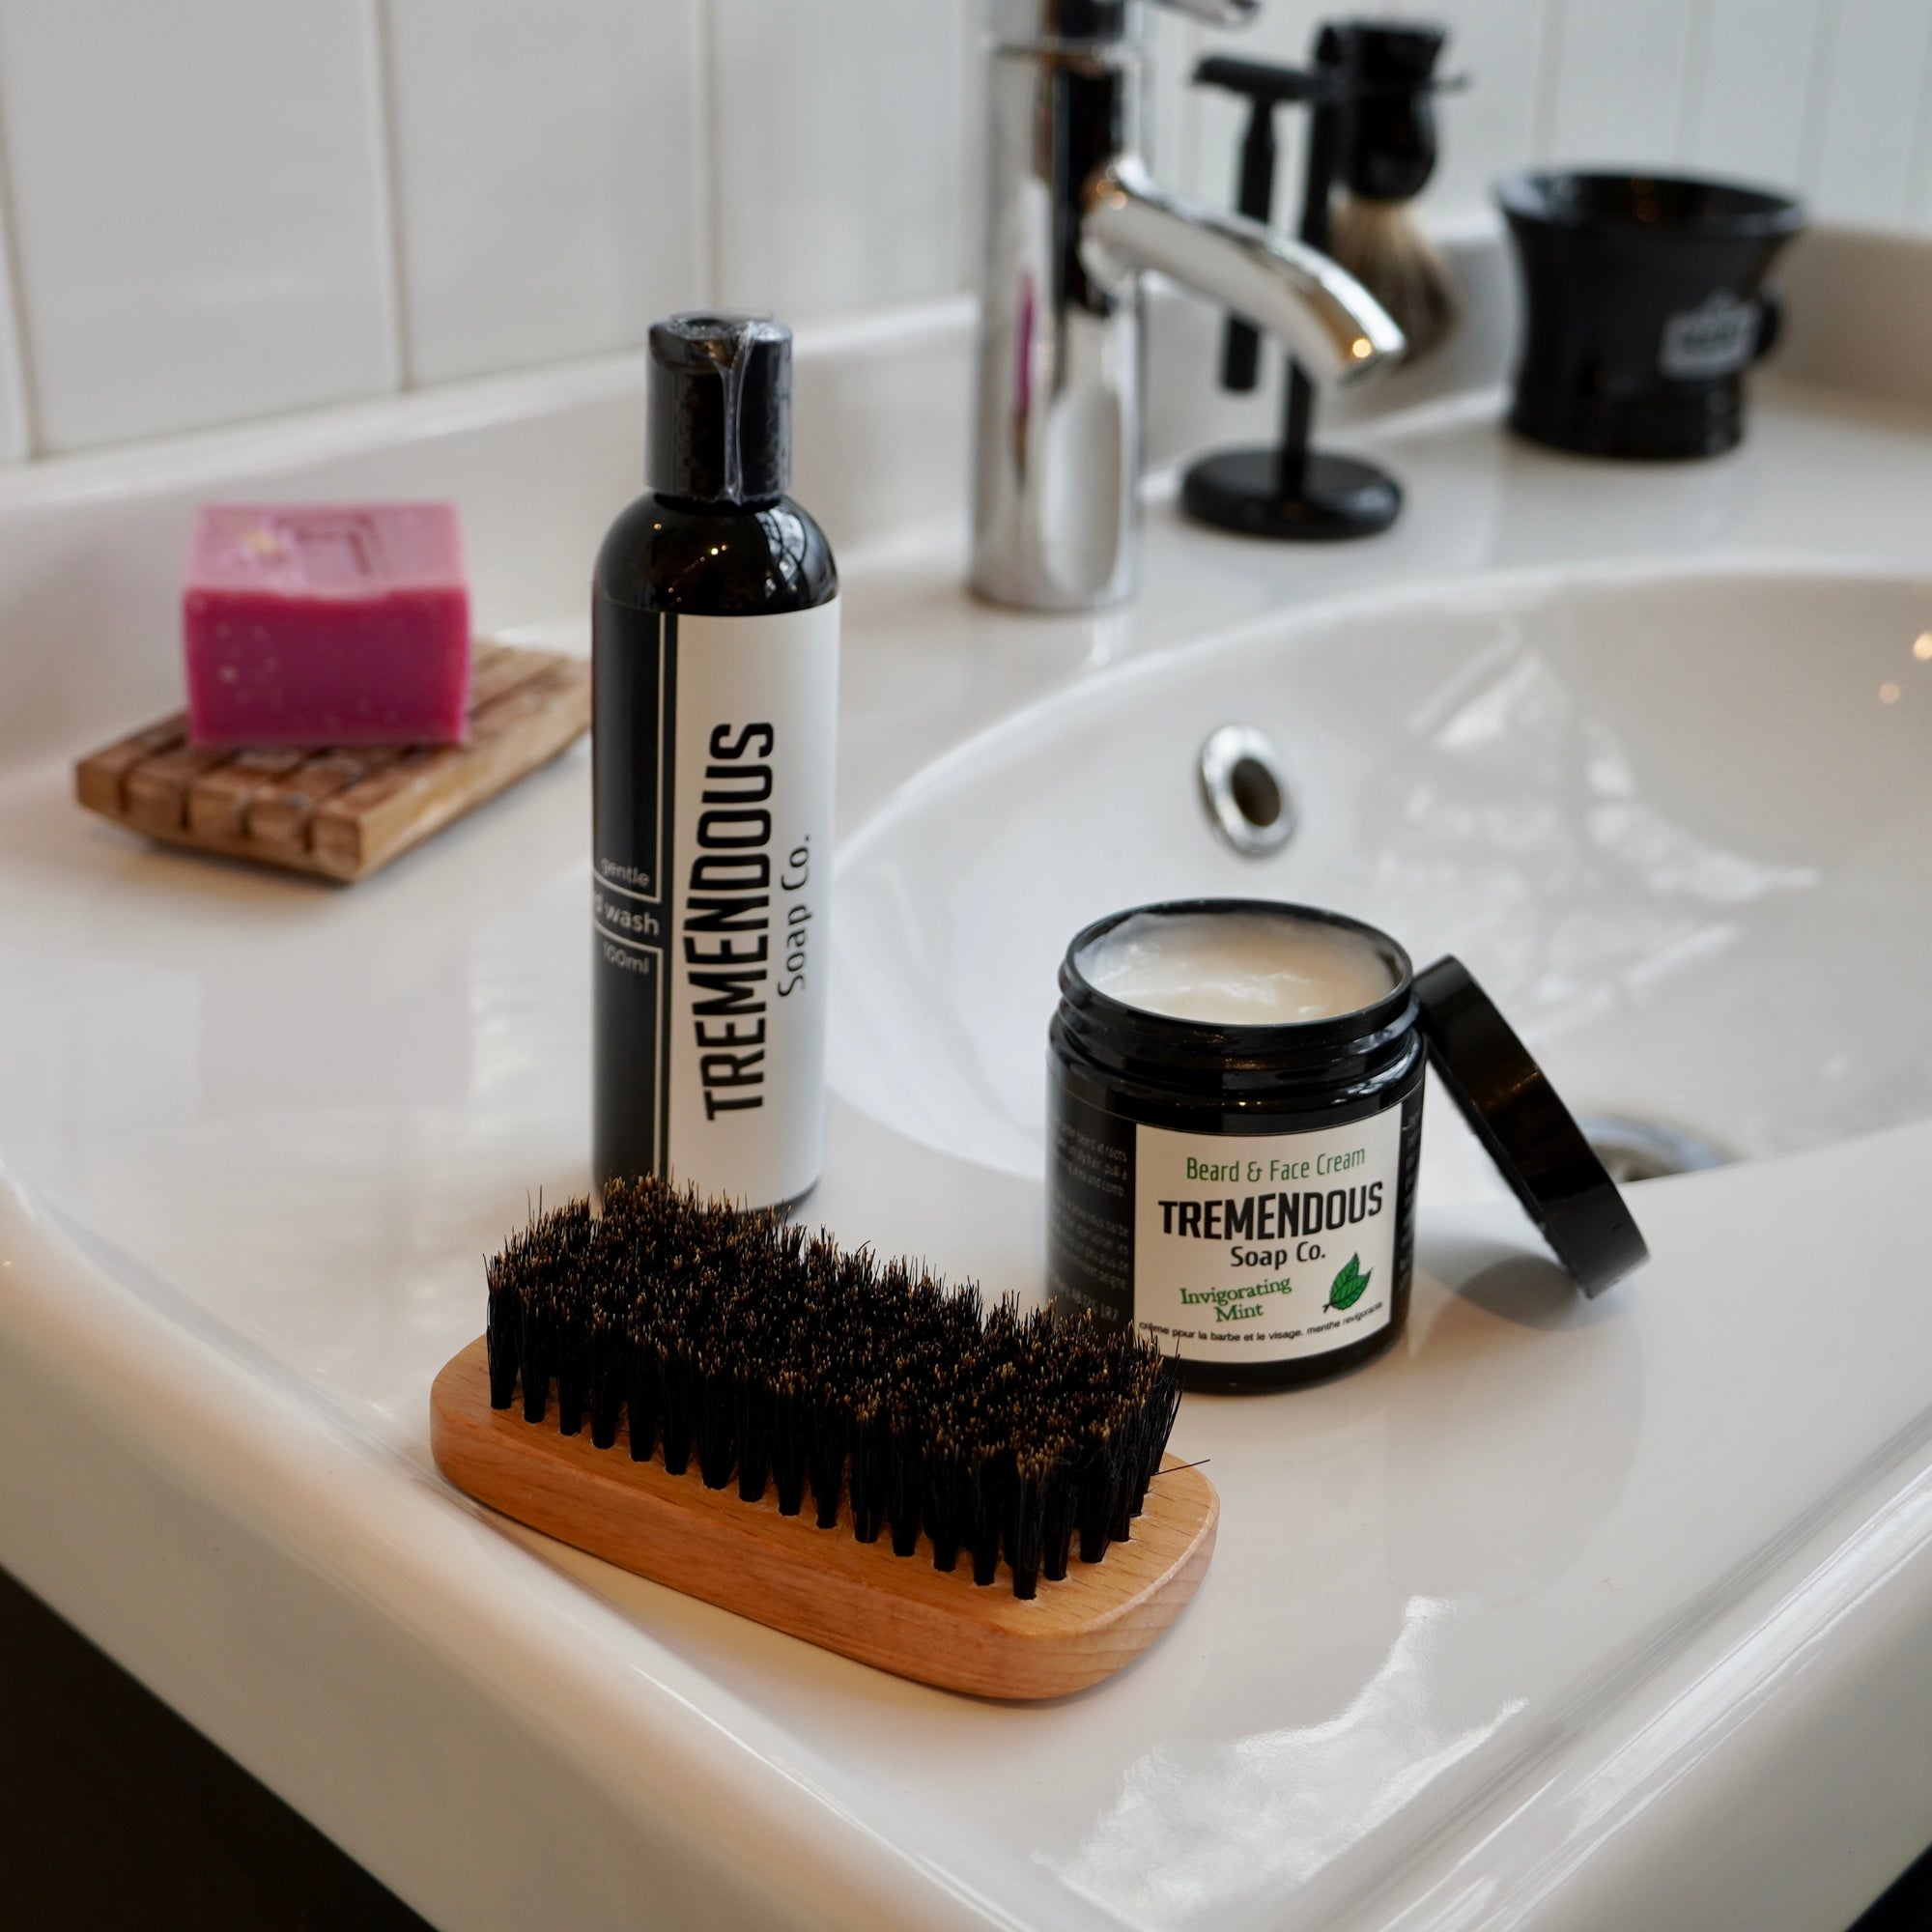
Think of your brush like your own hair, except it’s not getting constantly replaced. You want to use the most gentle products possible to remove grime. We’ve found beard wash, pet or baby shampoo, mild detergent, and diluted vinegar to all work well. I like a combination of vinegar and shampoo best.
I start by soaking my bristles in warm water as if preparing the brush for a shave. After a few minutes, dump your water and gently squeeze the brush. Because I live in an area with hard water, I start with a gentle vinegar bath to remove calcium buildup. Using nine parts warm water to one part vinegar, I soak the bristles just up to handle in my shaving bowl for ten or twenty minutes. Give your brush a swirl, gently massage the bristle to help work out any buildup, and rinse it well with warm water.
Next, a mild detergent to remove soap residue and any vinegar smell. I use my Tremendous Beard Wash that lives in my washroom, as it's a gentle non-drying formula that I always have handy. Give your bristles a good lather, and spend a minute or two working the product into the loft. Don’t forget to be gentle! Just imagine you’re washing a newborn puppy. Then, give your brush a thorough rinse under running water, gently squeezing it regularly until the water runs clear. If you find the bristles still look gross, repeat this process.

As for the handle, I find an old toothbrush, and the same mild detergent is all I need to get it looking good as new. Give it a quick scrub, a polish with a clean cloth, and voila! Your brush is squeaky clean and ready for many more years of service. An old saying: “An ounce of prevention is worth a pound of cure.” I say this a LOT because it’s true. Do the daily maintenance and use your brush with care, and more serious maintenance will rarely be required. If you’ve got this far and you still don’t own a brush stand, this is the sign you’ve been waiting for! Bite the bullet and get that stand! You’ll thank me later.